Making music and need to rework your creations? Or do you have a purchased song that you need to edit? Garageband offers a free environment for macOS users to rework their audio projects!
If your device came from Apple, it should already have Garageband downloaded and updated. If not, try our easy download:
Got it? Let’s get started.
How to use Garageband to edit songs
The Beginning
First, open the Garageband app.
You’ll be met with a few options. For editing pre-existing tunes, we recommend “Empty Project.” The others often include audio presets, meant to improve the recording of works in progress. For example, the “Voice” setting applies a “Bright Vocals” effect to whatever audio lands in its main track. The unaware user may become frustrated when their recording doesn’t sound natural at all!
Trust us: start with a blank slate.
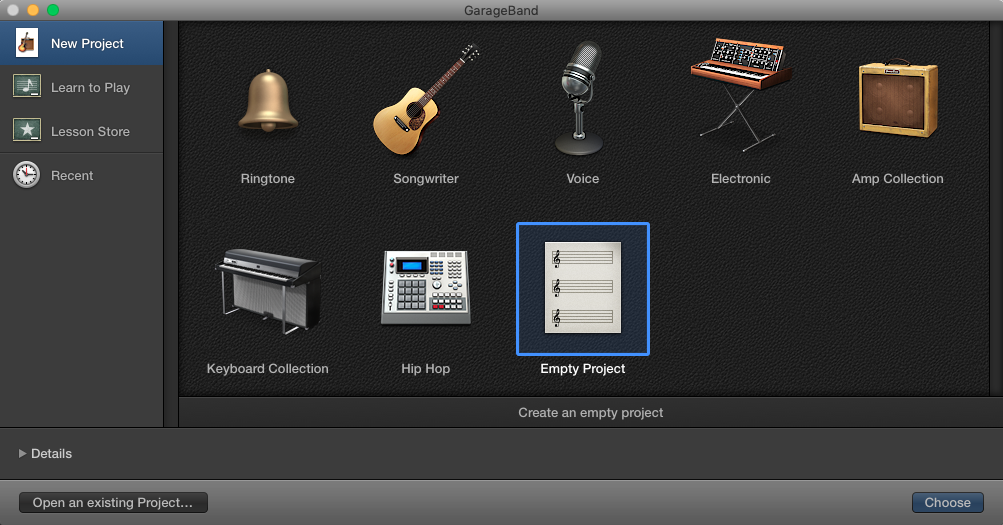
From here, you’ll meet another options screen: instrument choice. Since you’re coming with audio already recorded, use the basic “Microphone” setting. Then click “Create.” We’re on to the studio!
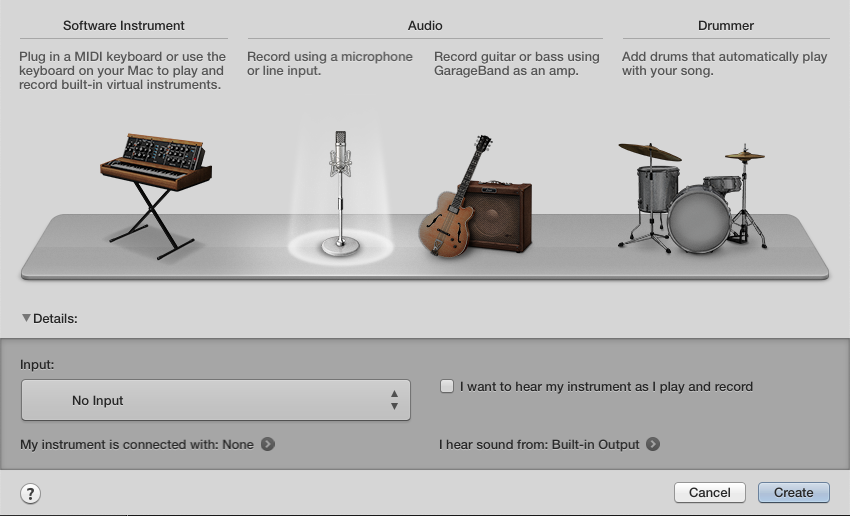
(If you’re going to record something as well, select the instrument that best fits your needs. Forewarning: using a guitar or other instrument may require specific cords to interface with the computer, but will get better audio quality than, say, a USB microphone.)
Into Garageband
Allows us to introduce…the creator environment!
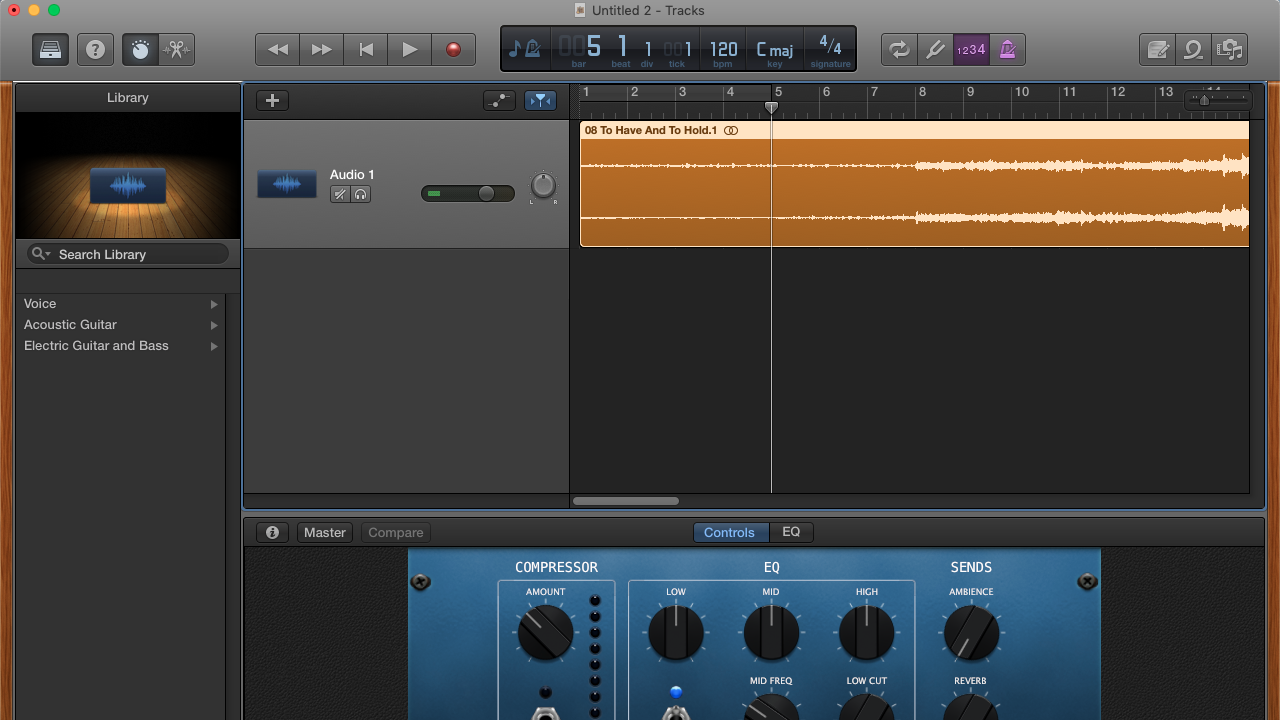
If it looks too packed, head to the top left buttons:
![]()
Hitting “Folders” on the left removes the sound settings, which reside in the leftmost bar – normally, these settings add a new audio track with different sound qualities.
Hitting the “Knob” icon reduces the EQ bar, which can be seen at the bottom of the picture – EQ stands for equalization and allows you to manually alter music filters and frequencies.
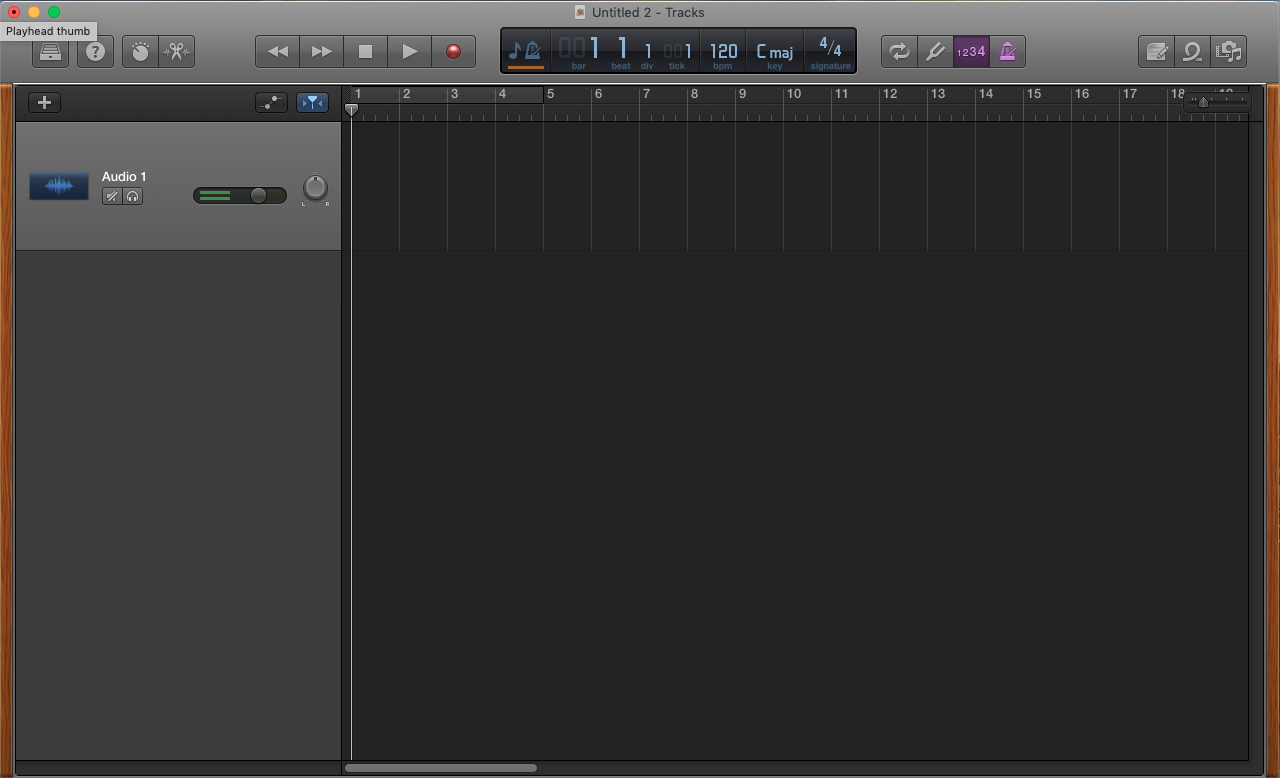
Your simplified environment will now look something like this:
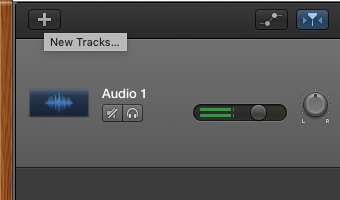
If you need to add more audio tracks, click the “New Tracks” button:
Surprise surprise! A new track appears:
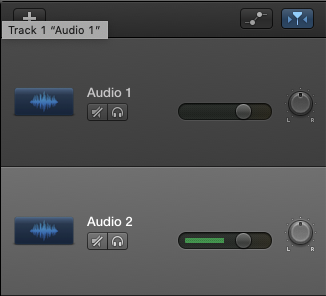
Just remember that working with multiple tracks can become difficult. Hitting the noise cancellation button will silence one track to make listening easier. Also, you can use the volume adjustment knob to increase the output of one section, and the “Left/Right” adjustor will place your selected track further to one side or the other.
Use these settings to your advantage!
At last, drag and drop your audio files into Garageband’s window. With that simple step, you’re ready to get down to business.

5 best music discovery apps
Read Now ►Editing
Here are the most useful tools:
Audio Manipulation
Casual audio recordings may require little more effort than moving, cropping, and clipping:
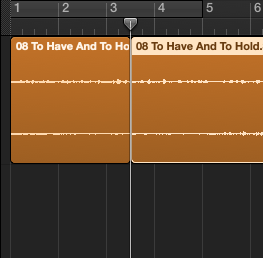
To move a piece of audio, simply grab the middle and then drag it left or right to move the position within a single track. Going up or down will allow you to pull your selection onto other tracks.
To crop, click either side of an audio track. A special cursor will appear. Use this to shorten a track, but note: everything you overwrite disappears.
To clip a track, click on your audio segment. Move the cursor to whatever spot you wish to clip. Finally, click “Control-T” to divide the area. (We assume the “T” refers to “Trim”.)
Volume Adjustment
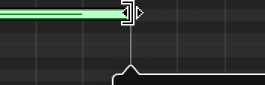
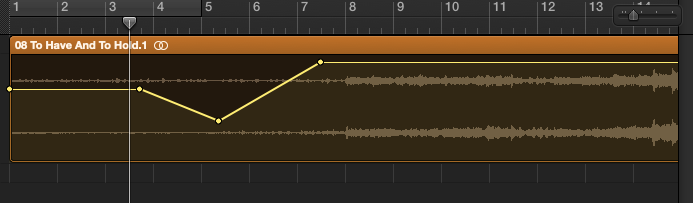
The volume adjustment button can be found over the tracks tab. Using this button shows the volume settings for each track:
![]()

Click the yellow line to insert a “handle”. Once you have two or more, you can begin to raise or lower the volume in specific areas.
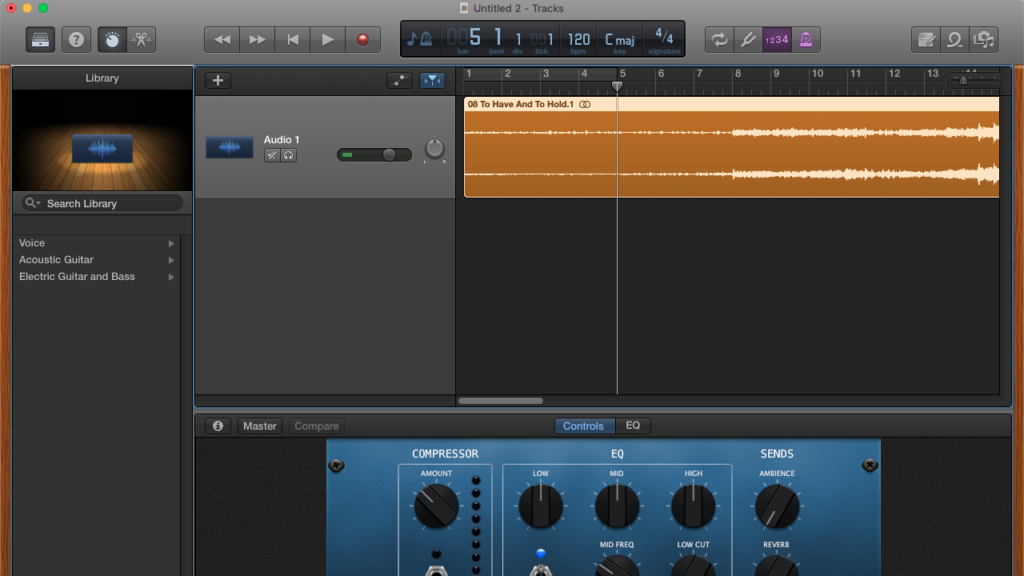
EQ
While Garageband offers preset options for EQ, you can play around with the settings yourself. Hitting the icon opens the settings:
![]()
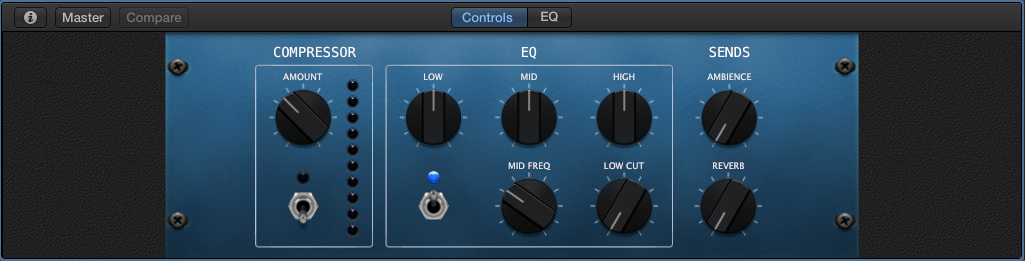
As you can see, Apple designed the knobs to look like those of a real amp. Adjust levels for low, mid, and high frequencies, increase reverb, and more! Both the “Info” and “Compare” buttons provide more options.
How to use Audacity: 14 beginner tips
REad now ►Exporting
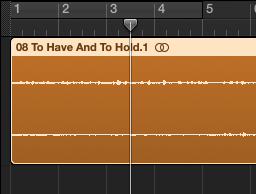
To export, first make sure your song “ends” where you wish. A small arrow delineates where the export will finish:
Often, this lands much too far to the right, so be careful! You don’t want the export to end too late, or too soon. Grab the arrow and drag left or right. Let go to set the ending in the position you’ve selected.
Next, visit the “Share” tab at the very top of the screen:

We recommend “Export Song to Disk,” which creates an MP3 file on your desktop or within a folder on your computer. From there, you can perform all the other actions: place it in an email, burn it to a CD, or drop it into iTunes!
Bonus: Editing Purchased Songs
Uh-oh!
You just purchased a song on iTunes, but found that one terrible part! Maybe it’s an opening that takes forever, a randomly silent area, or an addition that has nothing to do with the rest.
What? You need an example? Well…
The soothing song “Music of the Night,” from “Phantom of the Opera”, has a thunderous organ solo at the end. At best, you skip this moment of pure cacophony and move on with your life. At worst, it sneaks into your “calm study” playlist and gives you a heart attack at 3 a.m. Not that we have personal experience with such an event.

The good news is: you can edit these songs just like you edited your own music! Follow our steps in “The Beginning,” but drag and drop your song straight from iTunes rather than using a file from a folder. Then, use your audio manipulation skills to remove that terrible organ solo!
Once you’re finished, export the song back to iTunes with a title like “Music of the Night (Improved),” and replace the old version.
You may be wondering: is this okay? Can I legally alter the music? The answer is yes… as long as you legally purchased it in the first place, and don’t try using either version for professional use. Please obey copyright laws, for everyone’s sake!
Final Words
If you’re planning to record and develop original music with Garageband, there’s a lot more to learn. A whole lot more.
However, you don’t need a sound engineering background to appreciate the convenience of music editing, whether you’re making a quick recording or deleting an organ solo that sent your blood pressure skyrocketing.
Stay safe, obey the laws, and have fun improving your music!